Previously, I used Google Analytics to provide website statistics services, tracking the visits to each page on my blog. It's usable, but Google Analytics offers too much statistical content, which is quite overwhelming. Moreover, Google's services always have accessibility issues. Therefore, after reading other bloggers' introductions to Umami, I decided to set up my own website statistics service and switch to it.
Umami is a simple, fast, privacy-focused alternative to Google Analytics.
Umami's main selling point is its focus on privacy. After all, it's better not to let big companies handle data like visit statistics. Umami supports multiple deployment methods, such as Docker. However, for a cloud computing enthusiast like me, it's natural to go for cloud services. The Umami service itself can be deployed on Vercel, and you can access it directly by binding a domain name. Umami supports two types of databases, MySQL and Postgresql, and you can find corresponding serverless providers for both. I chose TiDB Cloud by PingCap, which provides a MySQL database with a maximum capacity of 5G per cluster and 50 million accesses per month.
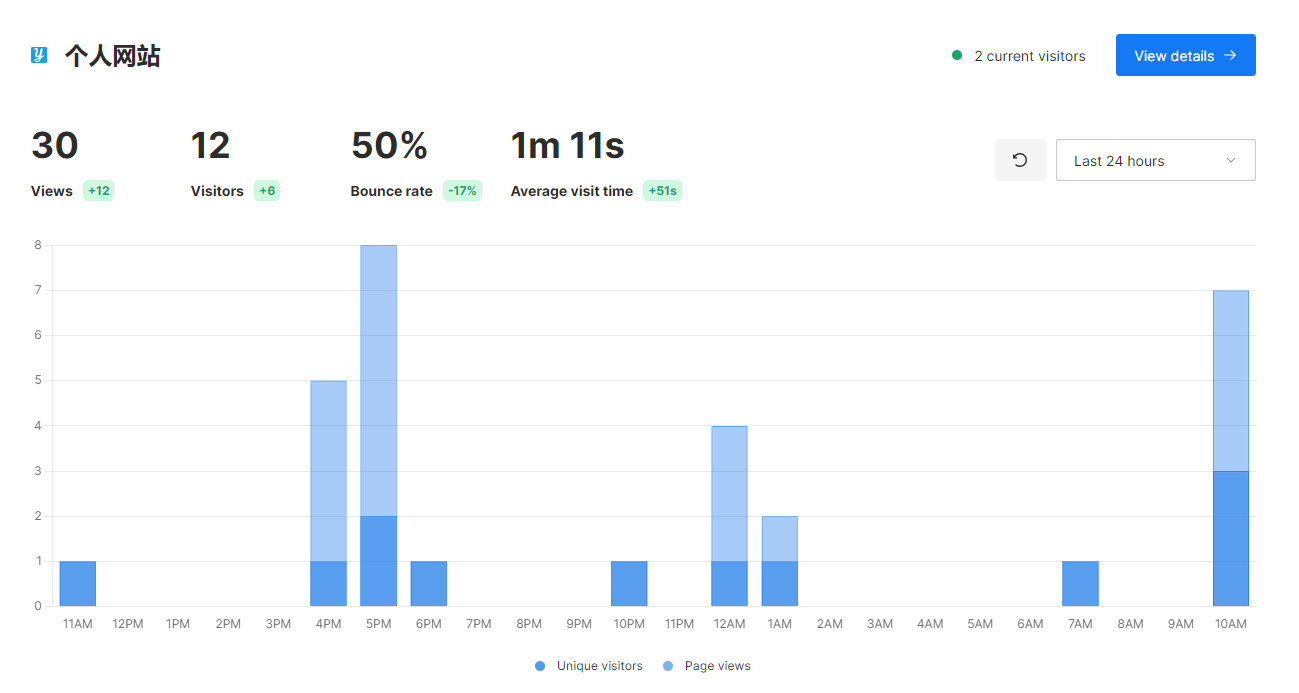
The final deployment result is as follows.
Setup Process
After logging in to TiDB Cloud, create a serverless database cluster.
On the cluster's overview page, click connect to get the relevant content for establishing a database connection, including the following in the MySQL CLI connection method:
- Username -u
- Host -h
- Port -P
- Password -p
Based on the obtained information, piece together the MySQL connection URL:
mysql://<username>:<password>@<host>:<port>/<database_name>?pool_timeout=60&sslaccept=accept_invalid_certs- You need to create a database in advance and specify it.
- Because TiDB Cloud requires TLS by default, you must add the parameter
sslaccept=accept_invalid_certs, otherwise, you cannot connect (this is a hidden pitfall).
Fork the Umami project on GitHub and deploy it on Vercel. When deploying, fill in the environment variable
DATABASE_URLwith the connection URL from above.After deployment, bind your own domain name on Vercel. Due to DNS pollution, the domain names provided by Vercel cannot be accessed most of the time. You need your own domain name for smoother access.
After successful deployment, visit the website through the bound domain name. The default account username and password are 'admin' and 'umami'. After logging in, you can change the password, add websites, and add users.
In the settings page, add a website and fill in the relevant information. Umami will assign an ID and a tracking code for the website to be tracked. Simply put this tracking code into the head tag of the webpage to start collecting statistical data and see the corresponding statistics results in the dashboard.
- For example, in the case of Hugo that I use, find the generation template related to the head tag in the HTML template of the theme and put the tracking code into it. To increase configurability, you can also extract the id in the tracking code into a variable and read it from the configuration.
1
2
3
4
5
6
{{- if and .Site.Params.enableUmami (eq hugo.Environment "production") }} {{ $id := .Site.Params.umamiTrackingID }} {{ $host := .Site.Params.umamiHost }} <script async src="https://{{ $host }}/script.js" data-website-id="{{ $id }}"></script> {{- end }}1 2 3enableUmami = true umamiTrackingID = "your_id" umamiHost = "your_umami_website"